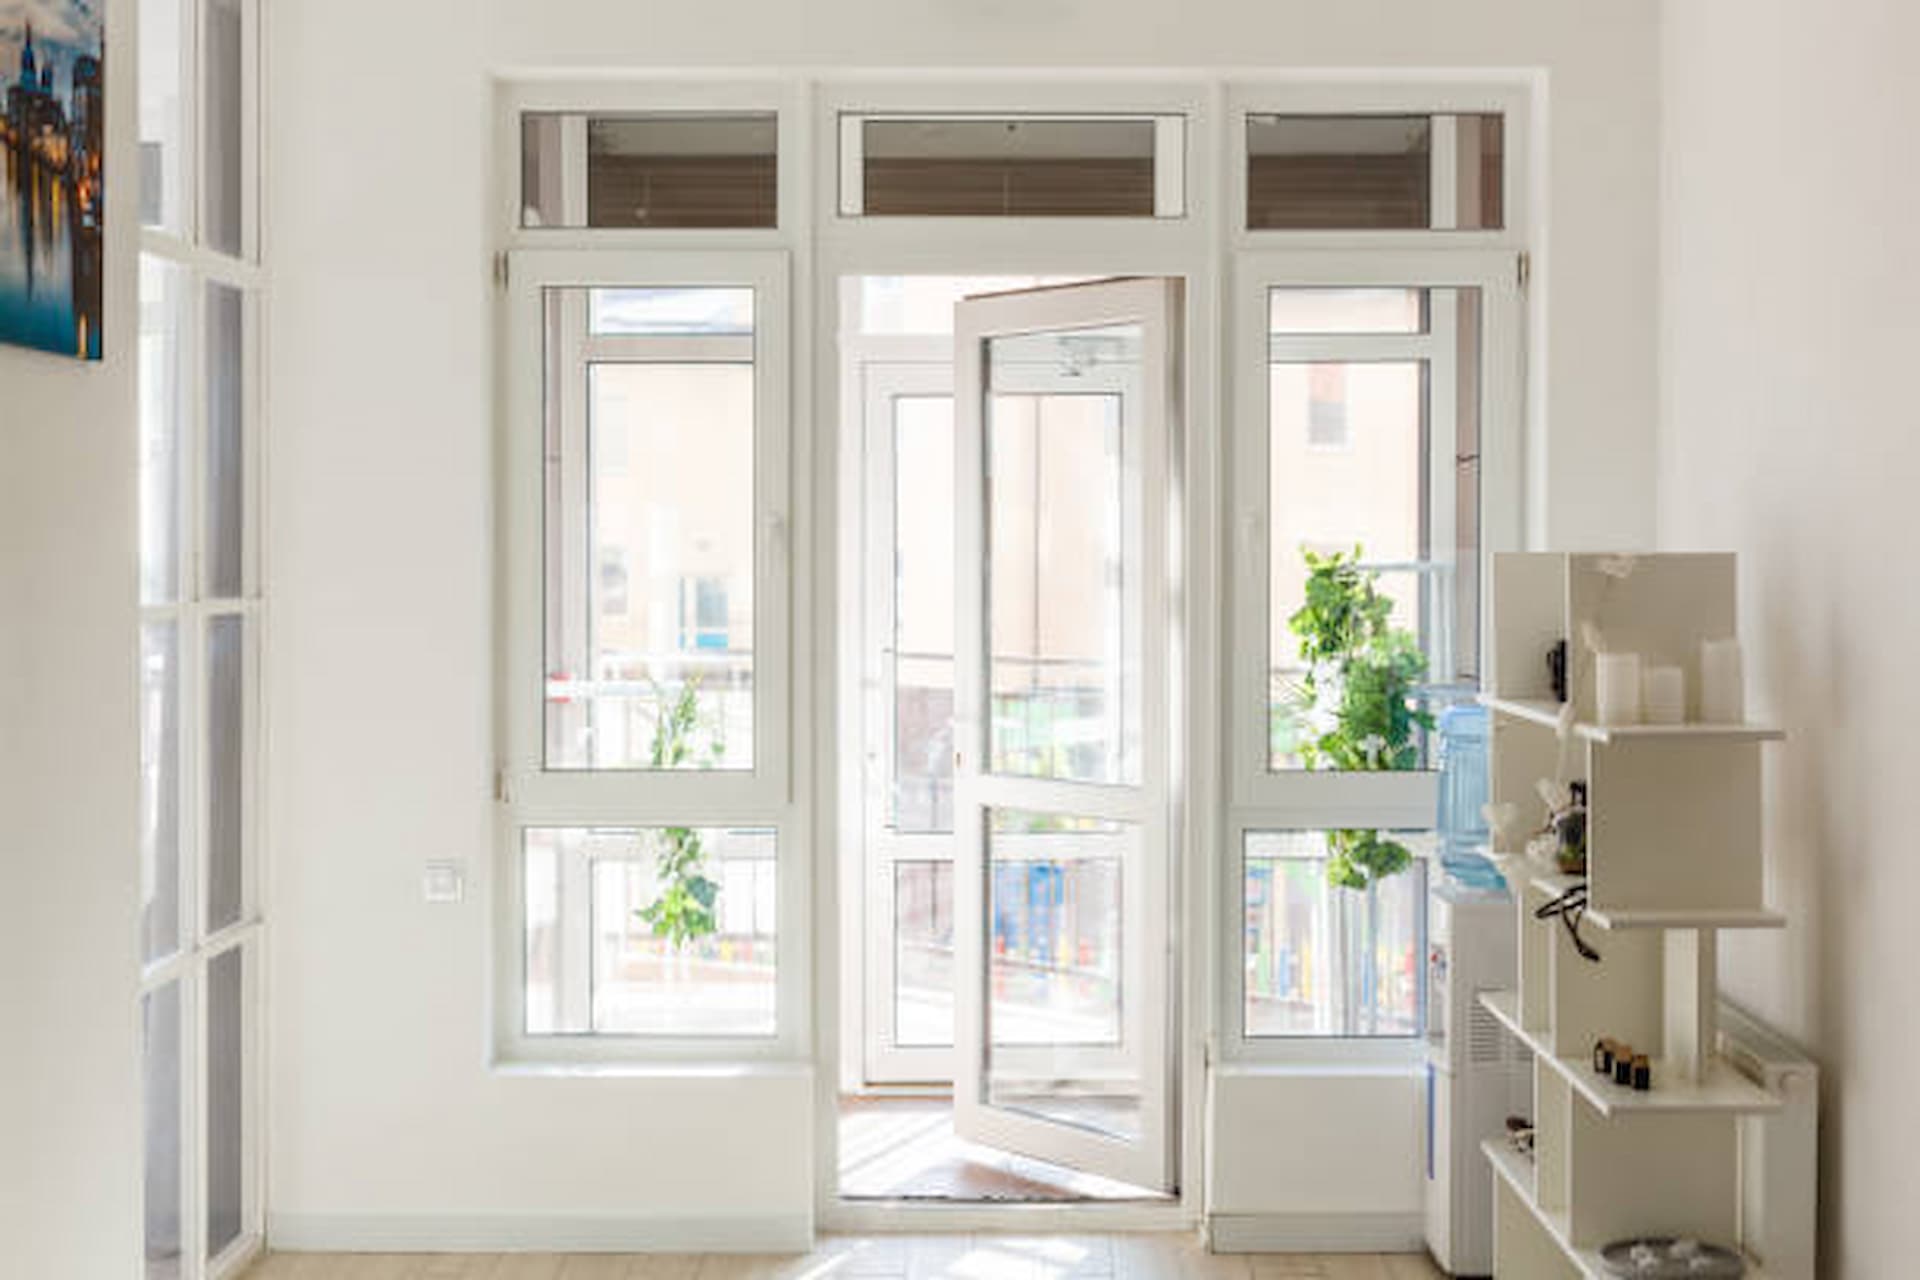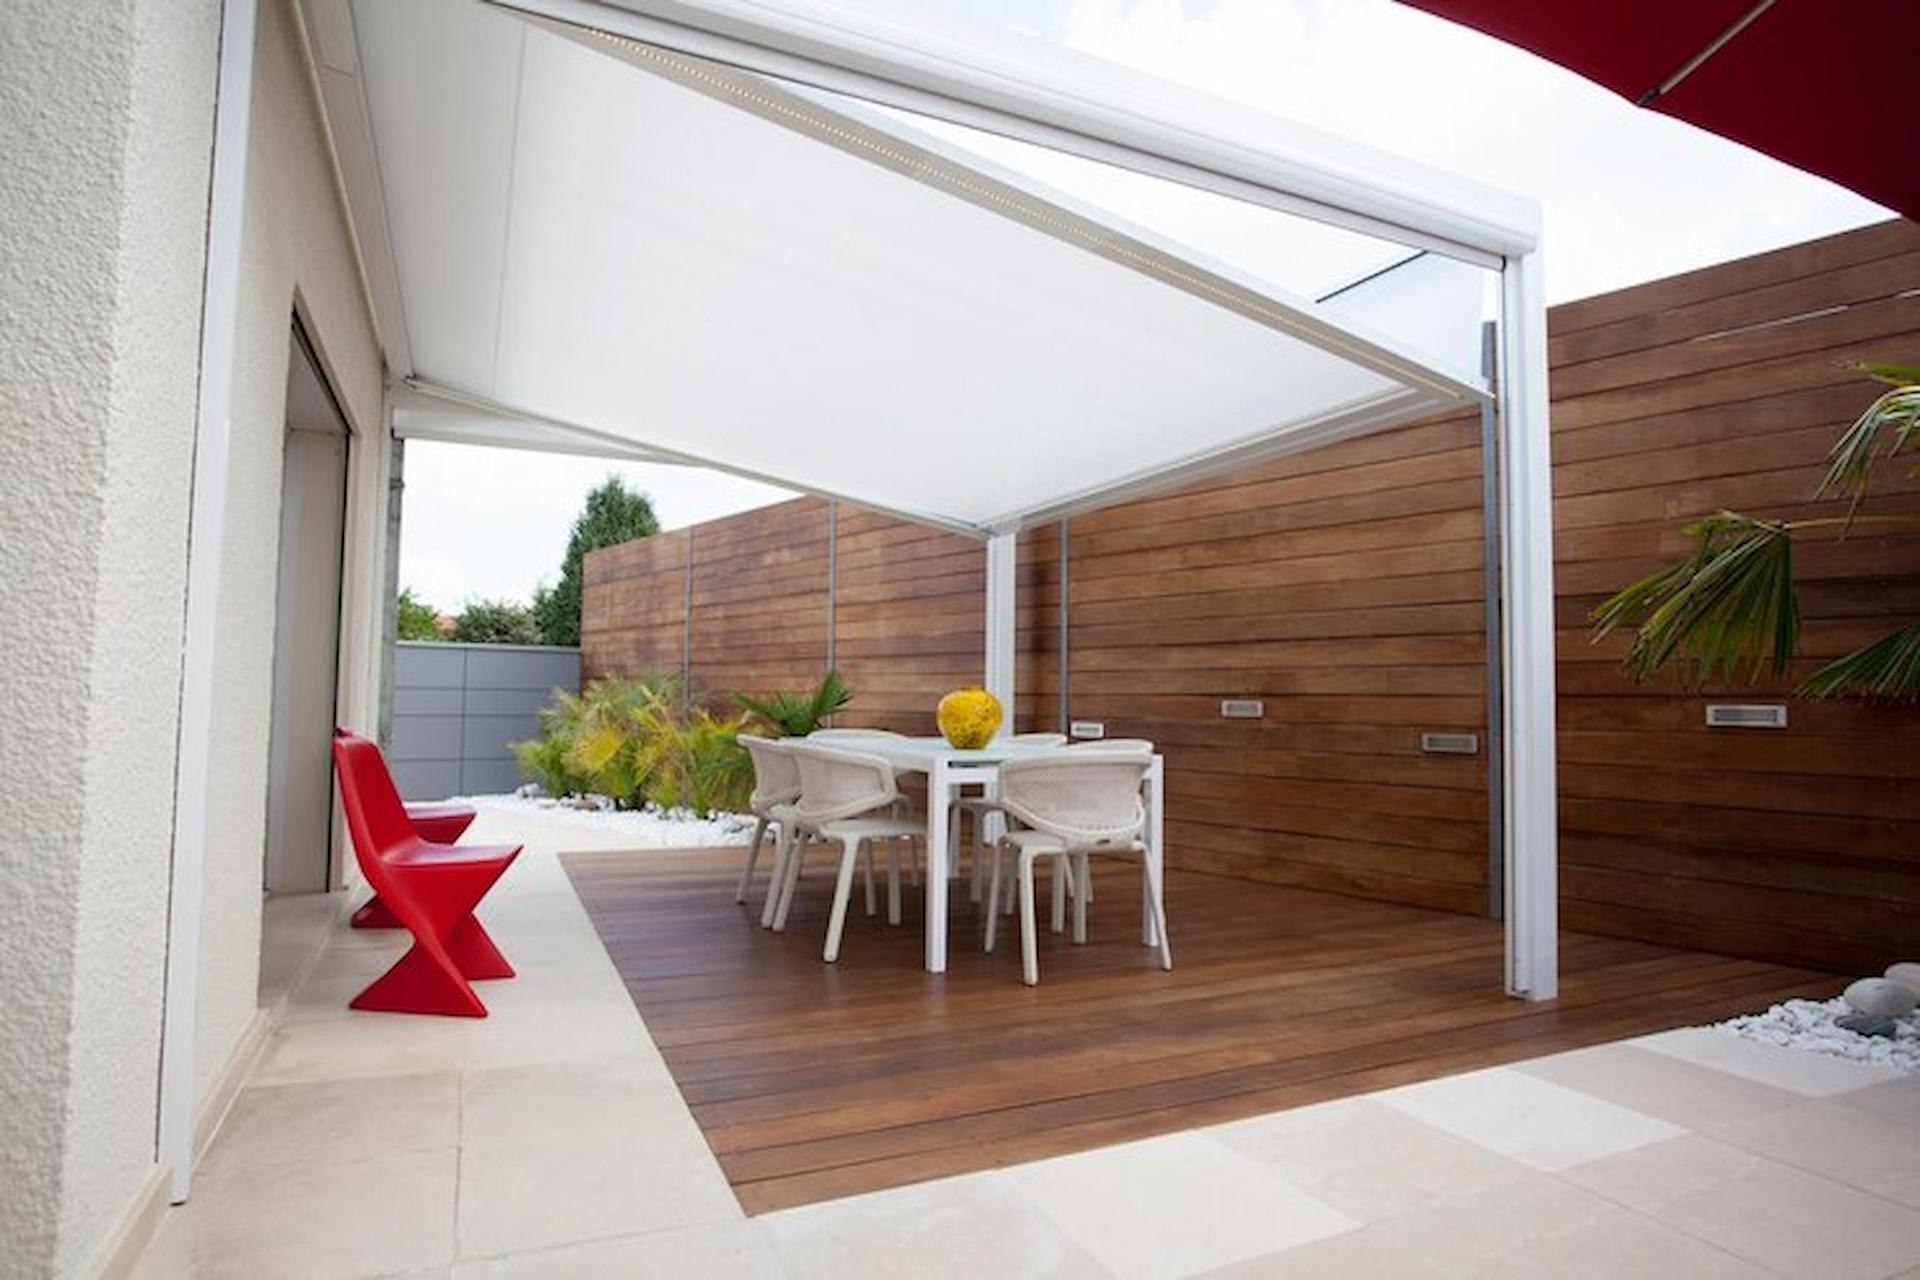
House canopy adds a touch of elegance to your home’s exterior and serves as a practical solution to shield your windows and doors from harsh sunlight and unpredictable weather conditions. While hiring professionals for awning installation might be an option, the satisfaction and cost-effectiveness of a DIY project can’t be overstated. In this comprehensive guide, we’ll walk you through the step-by-step process of installing home awnings, empowering homeowners to enhance their homes with style and functionality.
Measure and Plan
Before you embark on the awning installation journey, take precise measurements of the area you wish to cover. Consider the type of awning you want – whether a retractable awning, fixed awning, or canopy. Planning is crucial to ensure the awning complements your home’s architecture and meets your needs.
Gather Materials
Collect all the necessary materials to start the installation process. Most DIY awning kits include the frame, fabric, brackets, screws, and an installation manual. Ensure you have the right tools, such as a drill, screwdriver, and level, for a smooth installation experience.
Install Mounting Brackets
Identify the designated spots for the awning’s mounting brackets. Use a level to ensure accuracy and mark the drill holes accordingly. Secure the brackets firmly to the wall, ensuring they are aligned and level. This step lays the foundation for the sturdy support of your house awnings.
Assemble the Awning Frame
Follow the manufacturer’s instructions to assemble the awning frame. Typically, this involves connecting the frame pieces securely. Double-check the frame’s stability before proceeding to the next step. A stable frame is essential for the durability and effectiveness of the awning.
Attach the Awning Fabric
Attach the awning fabric once the frame is assembled according to the instructions. Ensure the fabric is stretched taut to prevent sagging and maintain a neat appearance. Many awnings feature a simple sliding mechanism for easy installation of the fabric.
Secure the Awning to Brackets
Carefully lift the assembled awning frame and align it with the mounting brackets on the wall. With the help of an assistant, secure the frame to the brackets using the provided screws. Ensure that the awning is correctly levelled and ensure proper alignment before securing the screws to avoid any potential functional issues.
Test the Awning
Before celebrating your successful DIY house awnings installation, please take a moment to test its functionality. Extend and retract the awning to ensure smooth operation. Check for any sagging or misalignment and make necessary adjustments if required.
Conclusion
Installing a house awning is a rewarding DIY project that enhances your home’s aesthetic appeal and functionality. Following this step-by-step guide, homeowners can confidently create a shaded oasis outside their doors. From careful planning and precise measurements to secure mounting and fabric attachment, each step contributes to the overall success of the installation.
As you bask in the satisfaction of your newfound outdoor comfort, remember that a DIY house awning not only adds value to Not only does it add value to your property but it also offers a place providing a space for you to relax and savour the beauty of your surroundings. So, grab your toolkit, embrace the DIY spirit, and transform your home into a stylish haven with a personalised house awning.